
In Fall 2021, Apple started allowing users to use their custom domains with iCloud Mail. This lets users customize their email address with a personalized domain. iCloud Mail with custom domains is a great way to get a professional looking email managed by Apple, for only the cost of the domain leasing and an iCloud+ subscription.
In this guide, we’ll be looking at how to configure your Route 53 domain to work with iCloud+ custom email domain.
Limitations
Users can add up to five custom domains and up to three addresses per custom domain. If you have Family Sharing enabled for iCloud, you can share your custom domain across your iCloud family and each member can get their own three email addresses.
Costs
iCloud+ starts at $0.99 in North America, and if you already pay for more iCloud storage on your iOS, iPadOS, or macOS devices, you’re already part of iCloud+! AWS Route 53 is a component of AWS that lets you purchase and manage domains. The typical price for .com domains is around $12 in the US.
Before you start
Make sure you have an active iCloud+ subscription. You can check on iOS by going to Settings > Your Name > iCloud. If you under Storage you see iCloud+, congrats, you have iCloud+!
Check that you’re already using iCloud Mail. On your iOS device, go to Settings > Your Name > iCloud and make sure iCloud Mail is enabled. If it’s not, go through the short process of creating an iCloud email. If you don’t see the option for iCloud Mail, download the Mail app from the App Store, then check Settings again.
Get a registered domain with AWS Route 53. I won’t go over registering or purchasing a domain with Route 53 in this post, but click here for a good guide on how-to.
Use a web browser with access to desktop sites. This guide will go over configuring on the desktop version of iCloud and AWS. You can try following this guide on the mobile web versions, but I’m not sure if things will be in the same place, or if these options are unavailable on the mobile site. Do yourself a favor and grab a laptop to get this done.
How to configure iCloud+ custom email domain with aws route 53
1. Visit https://www.icloud.com/settings/customdomain
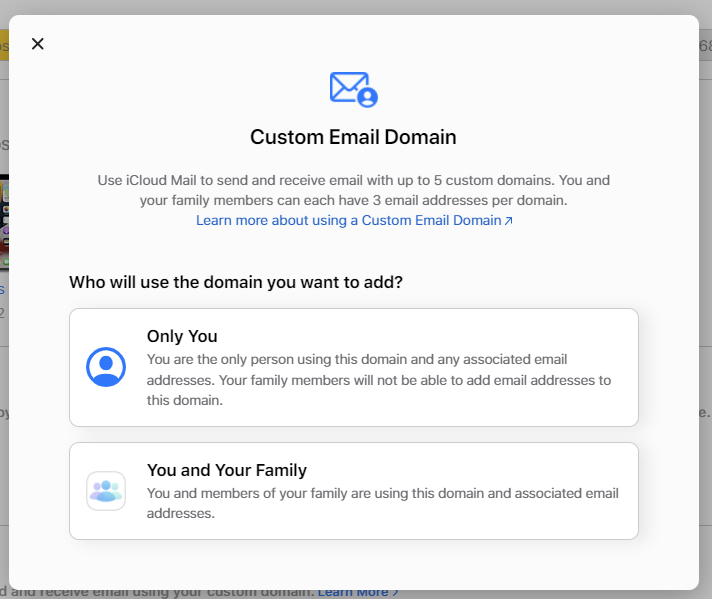
2. Select select whether you’ll be using the domain for your own iCloud account or will allow your iCloud family to create addresses under the same domain.
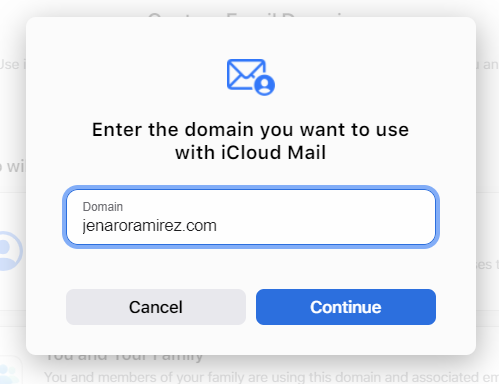
3. Enter the domain you’d like to use with iCloud Mail.
4. Add any existing email address from that domain. If you’re moving email providers, you’ll receive an email at that domain to verify ownership, and from there you can move on to the next step. In this case, since we’re starting from scratch, we’ll hit Skip.
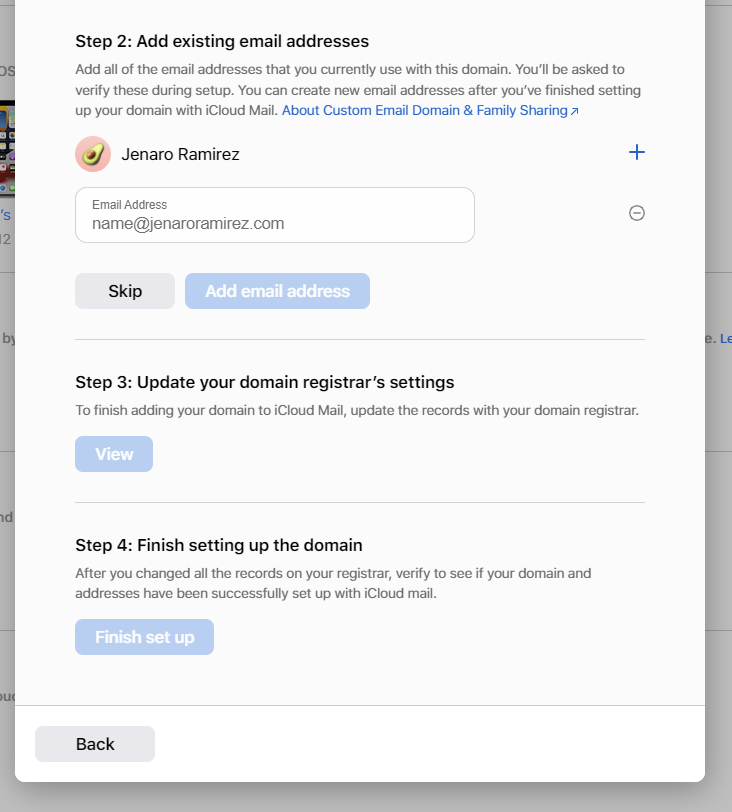
5. Move on to Step 3 on icloud.com, and hit view. From there we’ll see the email settings we need to type into AWS Route 53:

6. Open up AWS and navigate to Route 53. From the Route 53 dashboard, click on Hosted Zones. If you don’t see your domain in Hosted zones, hit Create hosted zone and enter your domain in the domain name field, then hit Create hosted zone again. Otherwise, you should be on a screen that looks like this:

7. Click on the domain name you’re configuring and you’ll see a list of records for your domain. If it’s empty or only has a couple of items that’s fine, we’ll be adding some records here soon. Click on Create record and you’ll see this screen:

8. We’ll start by adding the MX records first. Leave Record name, TTL, Routing policy all to their default values. Change Record type to MX, and in the Value field we’ll translate it from to a format AWS recognizes. Follow the table below and then your screen should look like this:


9. Next we’ll modify the TXT records. You can only have one TXT record per Hosted zone with AWS, so if you already have TXT records on your hosted zone, we can add more by adding them to the value field. TXT records must be in quotes and separated by a line break. We’ll see what that formatting looks like in a second.
Click on View existing records and see if you don’t already have a TXT record. If you do, go back to the previous page (the one between Step 6 and Step 7), click on the TXT record and click Edit record. Otherwise, if you’re still on Step 8, click on Add another record and copy this info as we did in the previous step:

Note that we combined the records for SPF from Apple’s configuration settings into the next one. So if you’re wondering when we type in the SPF record, we type it in here as a TXT record.

10. Finally, we’ll add the CNAME record, which shows up as DKIM on Apple’s side. If you already have CNAME records, no need to worry as we did for the TXT record, just hit Add another record and change the Record type to CNAME. Once again we’ll translate it from Apple’s info to AWS. In this case, we will need to modify the Record name field. Reference the table below, and then we’ll add the CNAME Host to the Record name field. Your CNAME record should look like this:

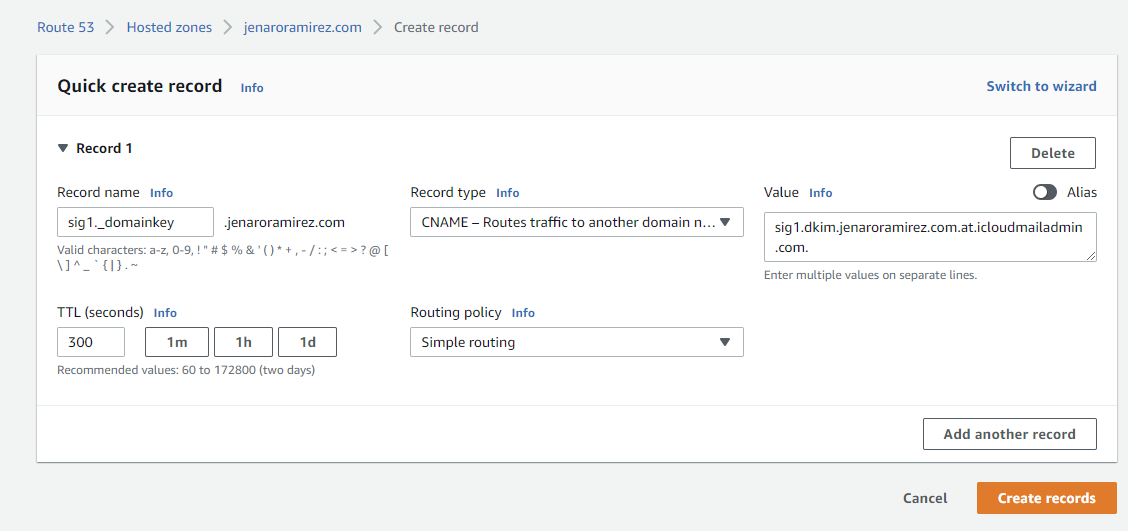
And that’s it for records in AWS! Hit Create records, and go back to make sure that your records all match their Apple equivalents:

You will probably have more records than I have shown here, I just have some hidden for privacy’s sake.
11. Go back to icloud.com/settings/customdomain and hit Finish set up to make sure everything is working as expected. If you’re successful you’ll see this:

Otherwise, go back to AWS and make sure all your records look like the examples provided.
12. We’re not done yet! After you hit continue you’ll see this screen:
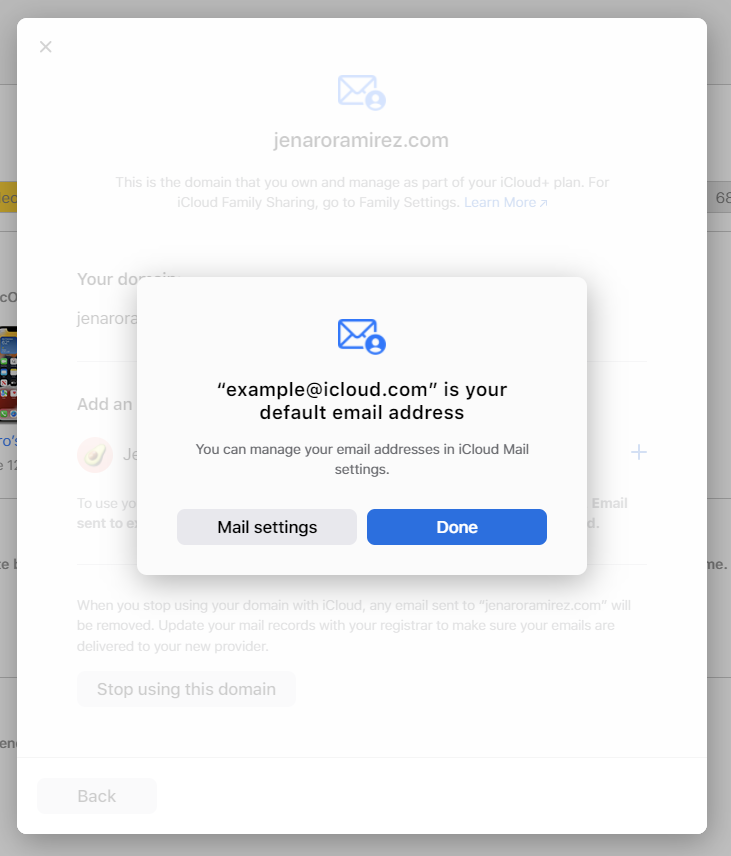
Don’t hit Mail settings! Hit Done and from there you can continue to add your custom email. Hit the little + icon and type in whatever you want @yourdomain and then Add email address.

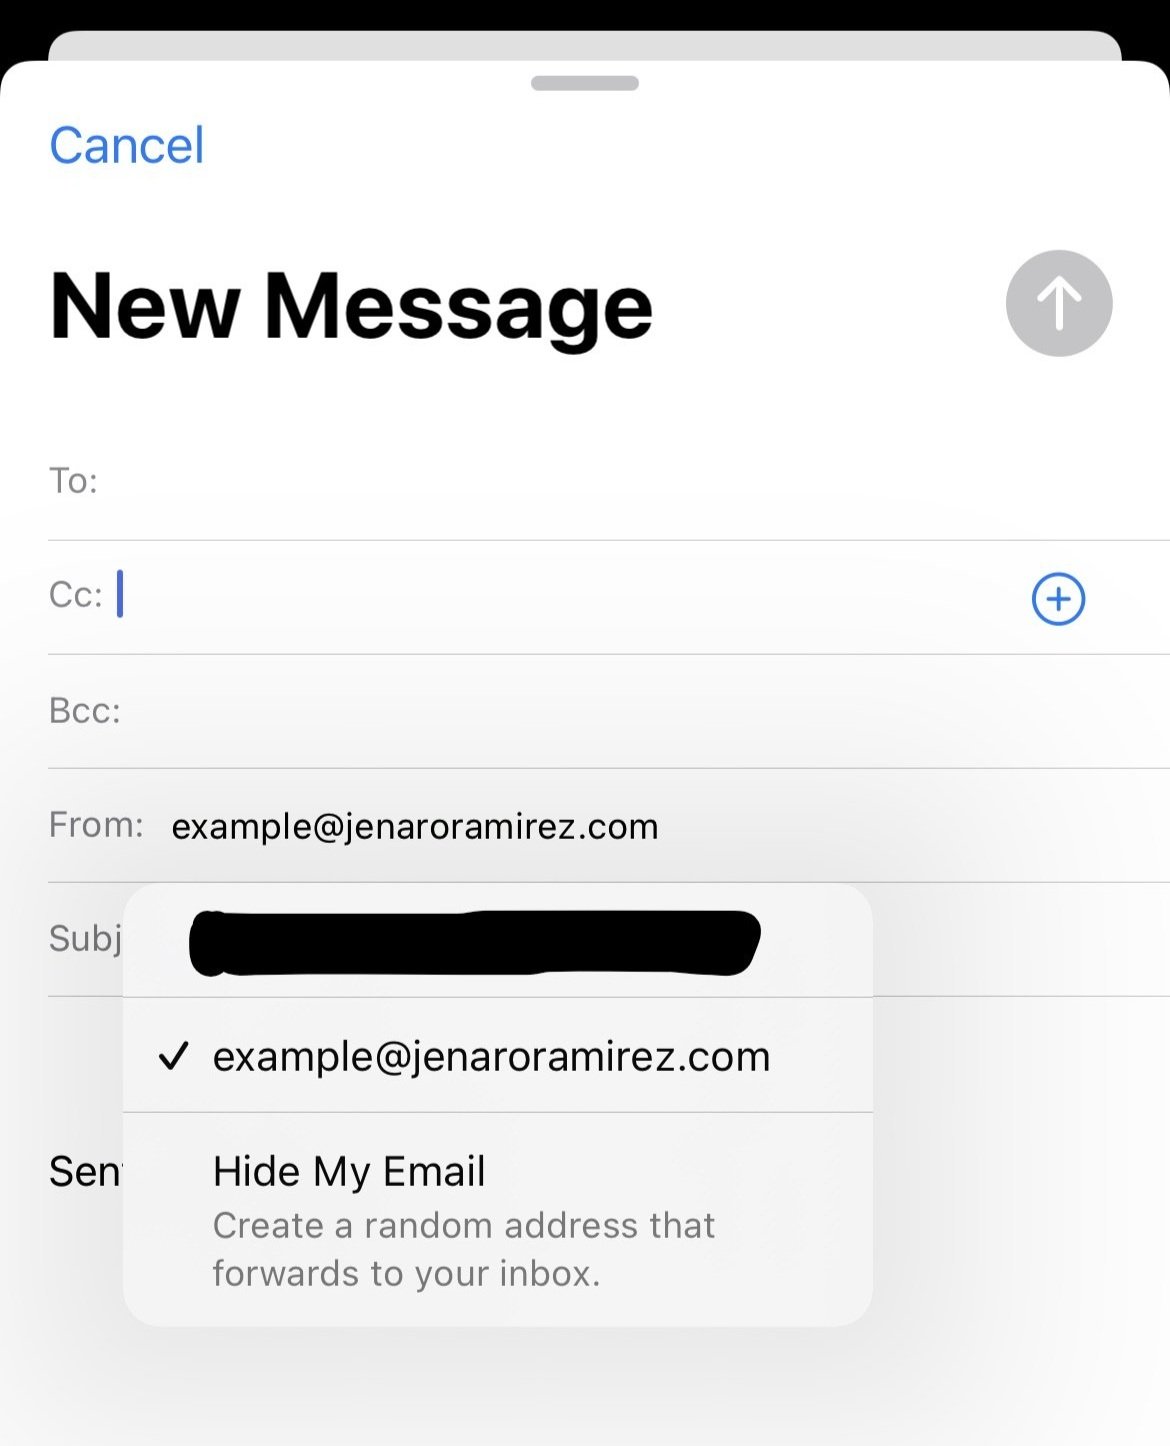
Congrats! You’re finally done! Hop on over to the iOS mail app and compose a new email. In the From field, you can change it from your default iCloud email to your new custom domain one. Send yourself a test email to make sure everything is good to go.
If you want to add another custom domain or add another email, the settings for that is going to be at icloud.com/settings/customdomain
Thank you to Dale Clifford of Internet Slack for a lot of the help in writing this guide!